Developer Guide Best practice when coding with AICS
Travis CI HowTo
Prerequisites
To start using Travis CI, make sure you have a GitHub account and your GitHub account is added to the AICS organization. Also, you should have at least one project hosted on GitHub.
To get started with Travis CI
- Go to Travis-ci.com and sign up with GitHub.
- Accept the Authorization of Travis CI. You’ll be redirected to GitHub.
- Click the green Activate button, and select the repositories you want to use with Travis CI.
- Add a
.travis.ymlfile to your repository to tell Travis CI what to do. - Add the
.travis.ymlfile to git, commit and push, to trigger a Travis CI build. - Check the build status page on Travis-ci.com to see if your build passes or fails.
.travis.yml basic samples
-
Selecting a programming language or runtime such as Java or Node.js.
 # Java .travis.yml sample
 language: java
# Node.js .travis.yml sample language: node_js -
Specifying versions
 # Java .travis.yml sample
 language: java
 jdk:
   - openjdk8
# Node.js .travis.yml sample language: node_js node_js: - "10" -
Installing Dependencies
To install Ubuntu packages that are not included in the standard trusty or xenial distribution, use apt-get in the before_install step of your .travis.yml
before_install: - sudo apt-get update - sudo apt-get install -y mongodb-org -
Write your commands in the script section
 # Java .travis.yml sample
 language: java
 jdk:
   - openjdk8
 script:
   - gradle build
# Node.js .travis.yml sample language: node_js node_js: - "10" script: - npm test - Organizing your tasks by stages
jobs: include: # You can name your stages. - stage: "RUN MY TESTS" script: ./test # Unique stage names are recommended. - stage: "DEPLOY MY APP" script: ./deploy - Conditional Builds, Stages, and Jobs
jobs: include: - stage: "RUN MY TESTS" script: ./test - stage: "DEPLOY MY APP" # Conditional stages if: branch = master script: ./deploy -
Configuring Build Notifications
Travis CI can notify you about your build results through email or custom webhooks.
notifications: # Notifications through email email: - one@example.com - other@example.com # Notifications through webhooks webhooks: - http://your-domain.com/notifications - http://another-domain.com/notifications -
Full basic .travis.yml sample
 # Java .travis.yml sample
 language: java
 jdk:
   - openjdk8

 notifications:
   email:
     - one@example.com
   webhooks:
     - http://your-domain.com/notifications

 before_install:
   - sudo apt-get update
   - sudo apt-get install -y YOUR_DEPENDENCY

 jobs:
   include:
     - stage: "RUN MY TESTS"
       script: ./test
     - stage: "DEPLOY MY APP"
       if: branch = master
       script: ./deploy
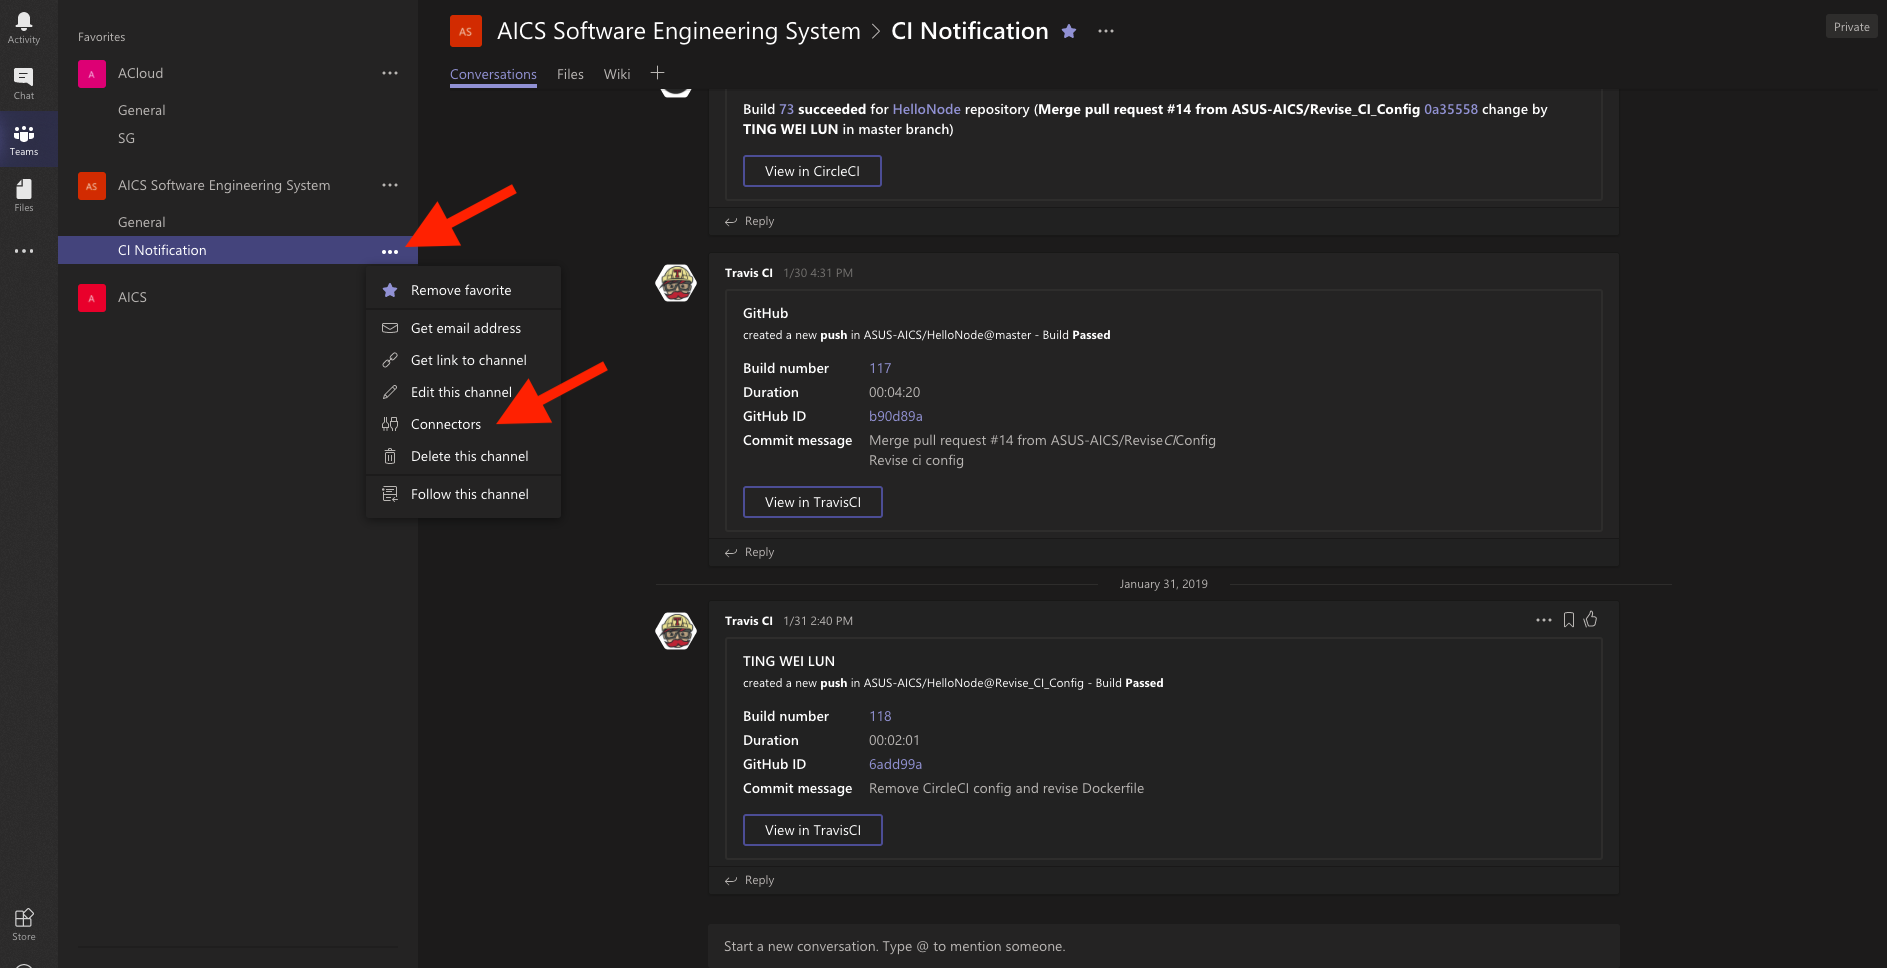
MS Teams Notifications
Travis CI can send notifications to your MS Teams channels about build results.
- On MS Teams, set up a new connector.
Note that you may need to ask MIS for permission to add new connectors in your Teams channel.
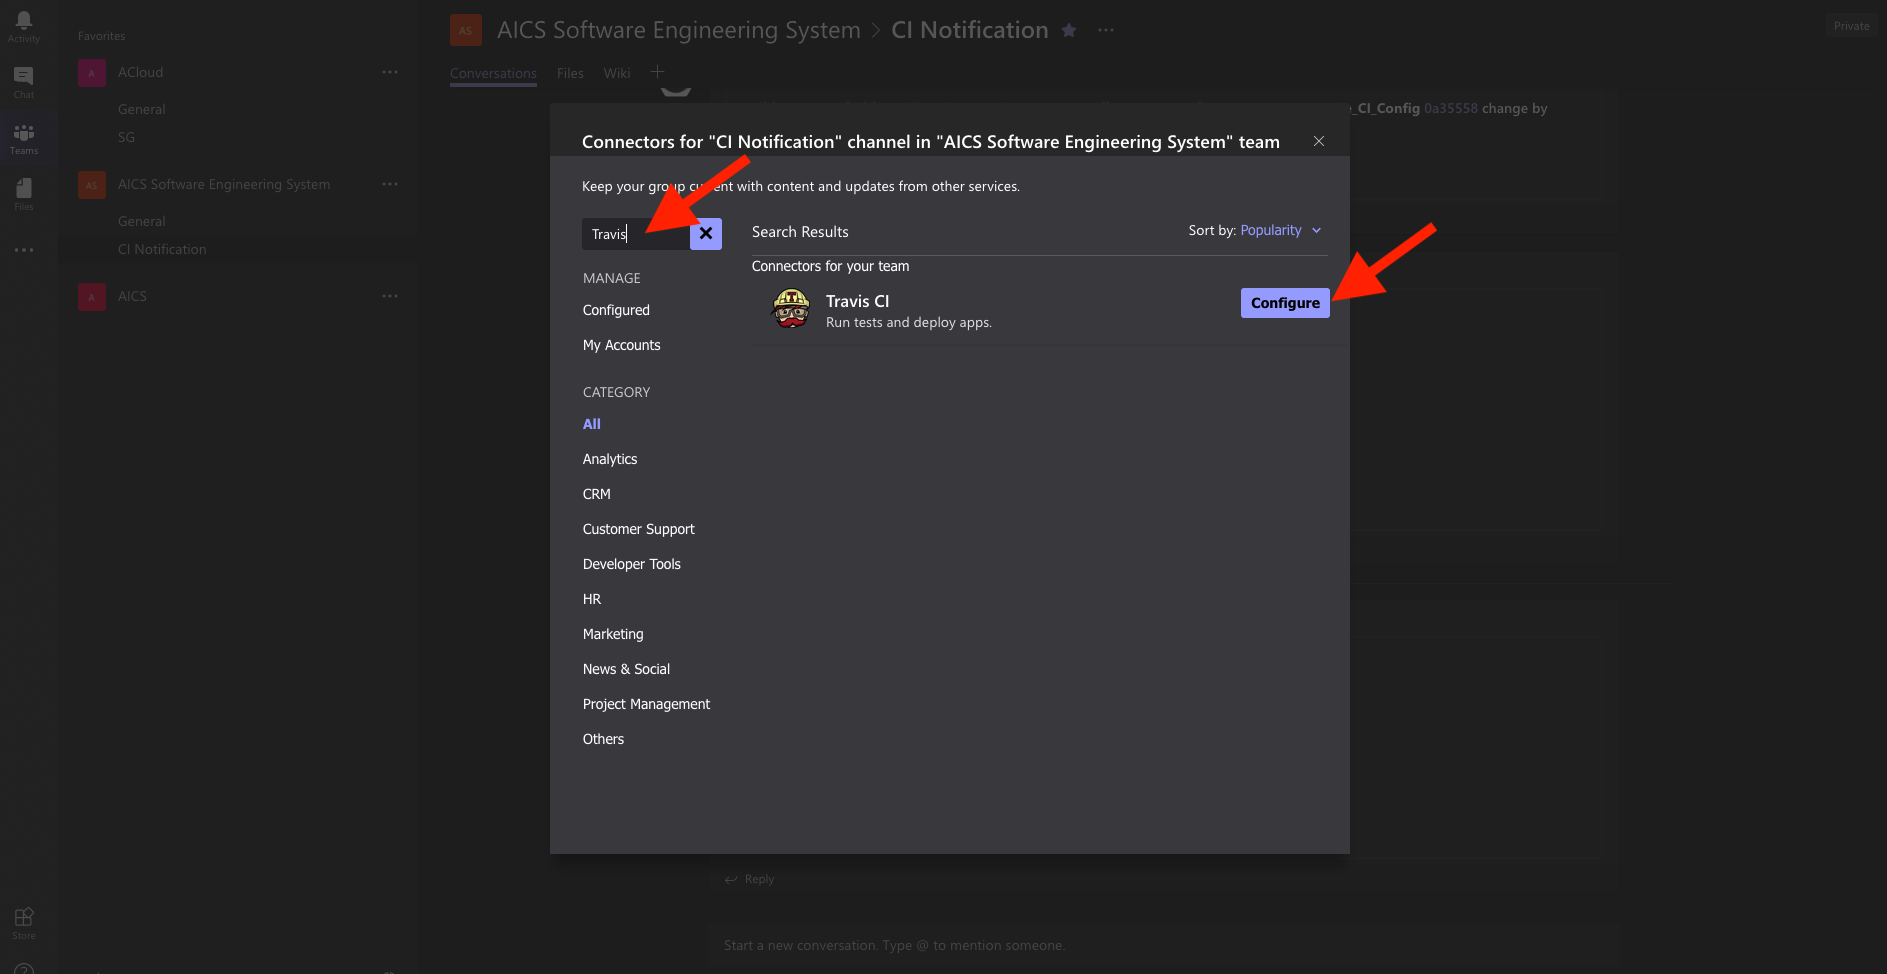
- Name your connector and copy your webhook URL.
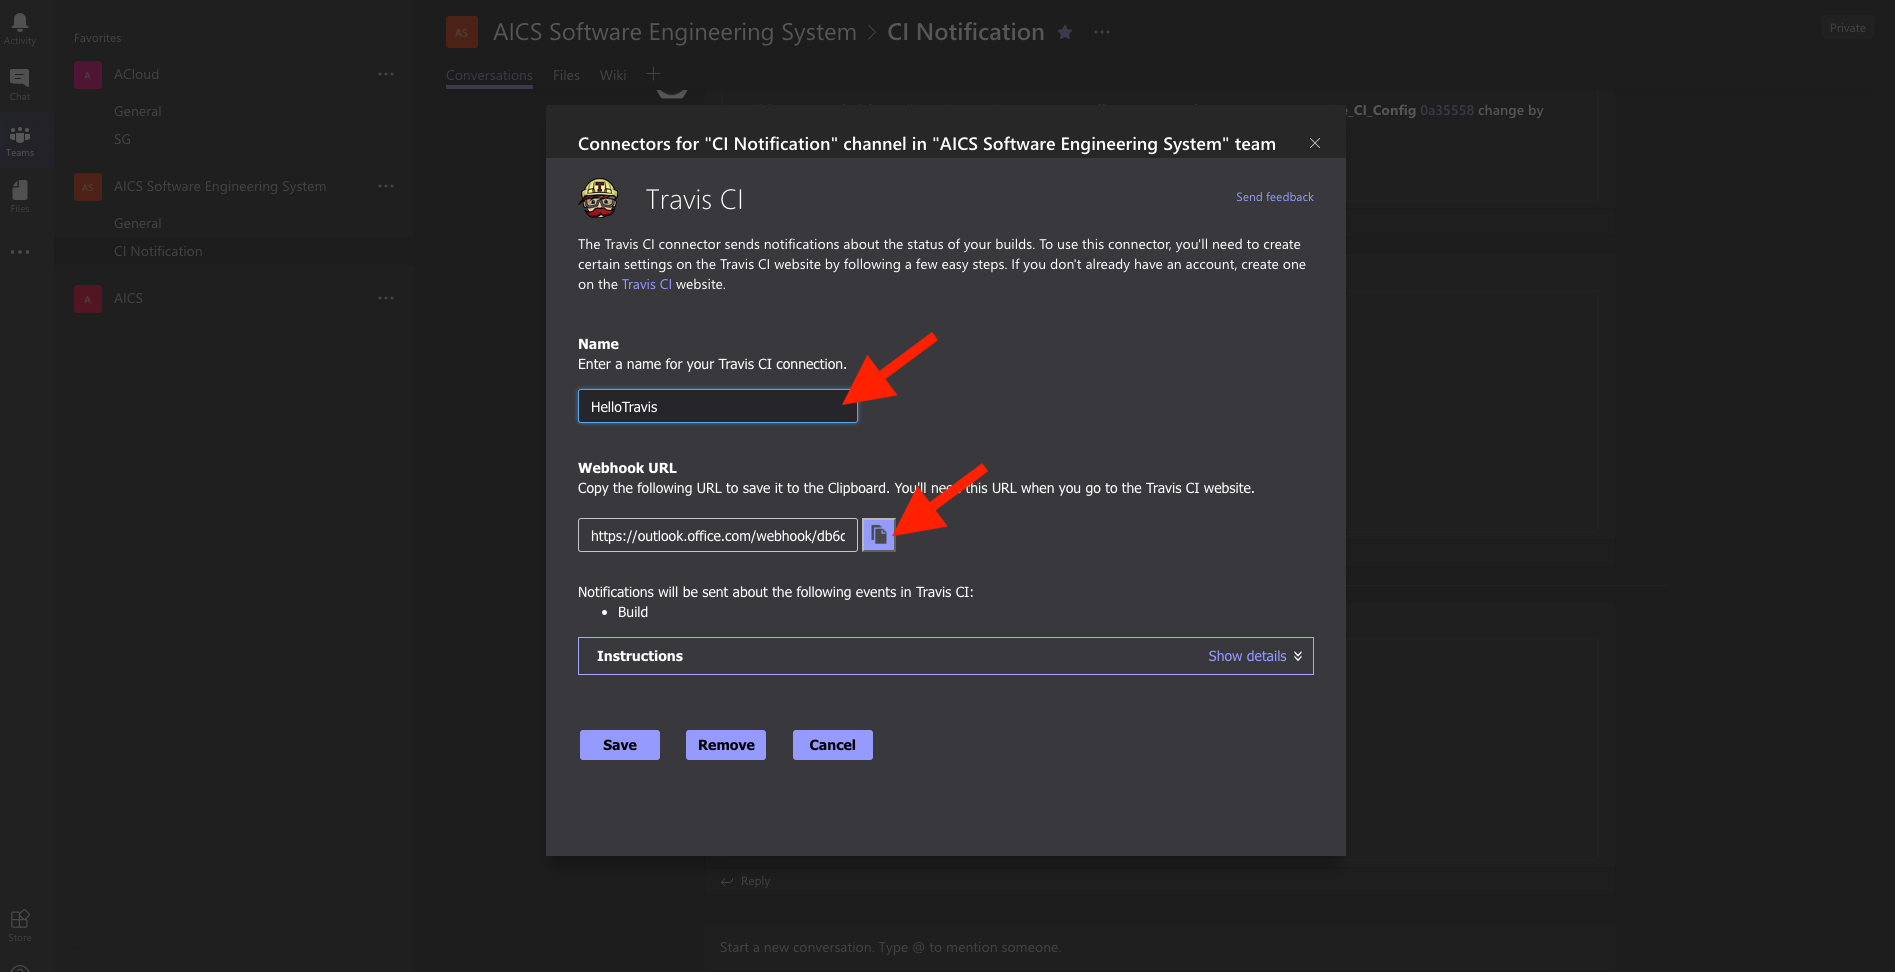
- Put your webhook URL in the Travis notification section.
 notifications:
   webhooks:
     - http://your-teams-webhook-url